
THE BEST CHOCOLATE LAYER CAKE
THE BEST CHOCOLATE LAYER CAKE
Thanks to Sally's Baking Addiction

I’ve always seen myself as a savory cook. I love it when my hands smell of onion and garlic, and I love that I don’t have to follow recipes. For most of my years cooking professionally I’d only had to do a small amount of pastry work, but never enough to really feel confident about my baking abilities. That all changed when I started working as a private chef a few years ago. People would expect a full meal, including dessert, and so I took on the challenge. Over time I started to become more confident in baking, and oddly, became famous for this chocolate cake. I’ve probably made it at least fifty times by now and I feel that making this recipe over and over has transformed my confidence in the world of pastry. Baking doesn’t have to be that difficult, it just takes repetition and practice to build a little confidence.

Photos by Ben Turner, whose work you can find here.
I made this cake the first time because someone asked for a chocolate birthday cake. Making layer cakes is something I had zero experience doing. So as I do when I need inspiration for a new recipe I opened all of my cookbooks and searched the internet. By this time I had become quite trusting of Sally’s Baking Addiction. Sally’s recipes are great, and when someone asks for a classic dessert she is usually my starting point. I’ve tweaked the recipe a tiny bit since I first made it - adding more salt, and upping the cocoa powder in the frosting to reduce the sweetness. Otherwise, it’s pretty much the same. Thank g*d for Sally’s baking addiction!
So with this recipe I hope to inspire you all to make an over-the-top cake, to find some confidence in baking, and to bring an impressive, but actually pretty easy recipe into your cooking repertoire. I’ve made this cake so many times that I can basically throw one together in about 30 minutes now. And what is more special than showing up to a friend’s birthday with the world’s best chocolate cake?
As always, my newsletter does not have a paywall, but please consider supporting this project for $2/month. Thank you!!!
Some notes for success:
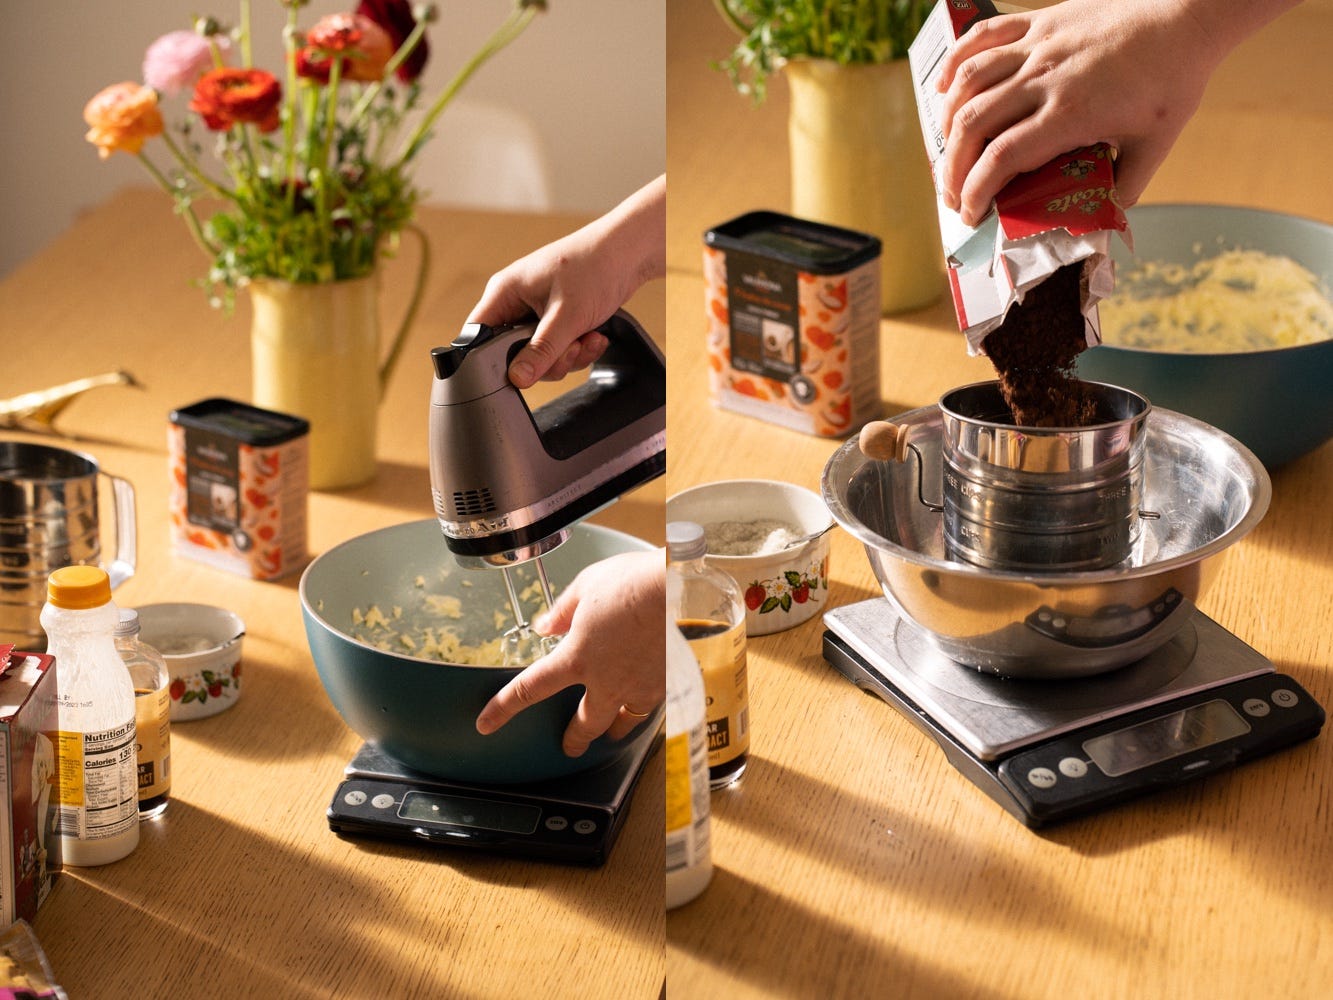
I cannot more strongly recommend that you use a scale for this recipe as opposed to measuring by volume with cups. You will get more consistent results this way.
As you may have come to expect from this newsletter I have certain brand loyalties -
Butter: Kerrygold, unsalted
Cocoa powder: I use Valrhona cocoa powder in the cake and Droste cocoa powder in the frosting. The Valrhona is deep and rich tasting. The Droste has a chocolate milk quality that I love for the frosting. If you want to just use one, use the Valrhona.
CHOCOLATE LAYER CAKE - serves 12-18
Click here for a printable PDF of the recipe without photos
THE CAKE
240g (1 cup) coffee
220g (1 and 3/4 cups) all-purpose flour
65g (3/4 cup) unsweetened cocoa powder (Valrhona!)
350g (1 and 3/4 cups) granulated sugar
2 teaspoons baking soda
1 teaspoon baking powder
1 1/2 teaspoons kosher salt
2 teaspoons espresso powder (optional, I truly sometimes add it and sometimes don’t)
2 large eggs, at room temperature
120g (1/2 cup) vegetable oil (grapeseed, canola, sunflower, etc. anything unflavored)
2 teaspoons vanilla extract
240g (1 cup) buttermilk, at room temperature
First, preheat your oven to 350F.
Next you will want to make or heat up your coffee. So do that!
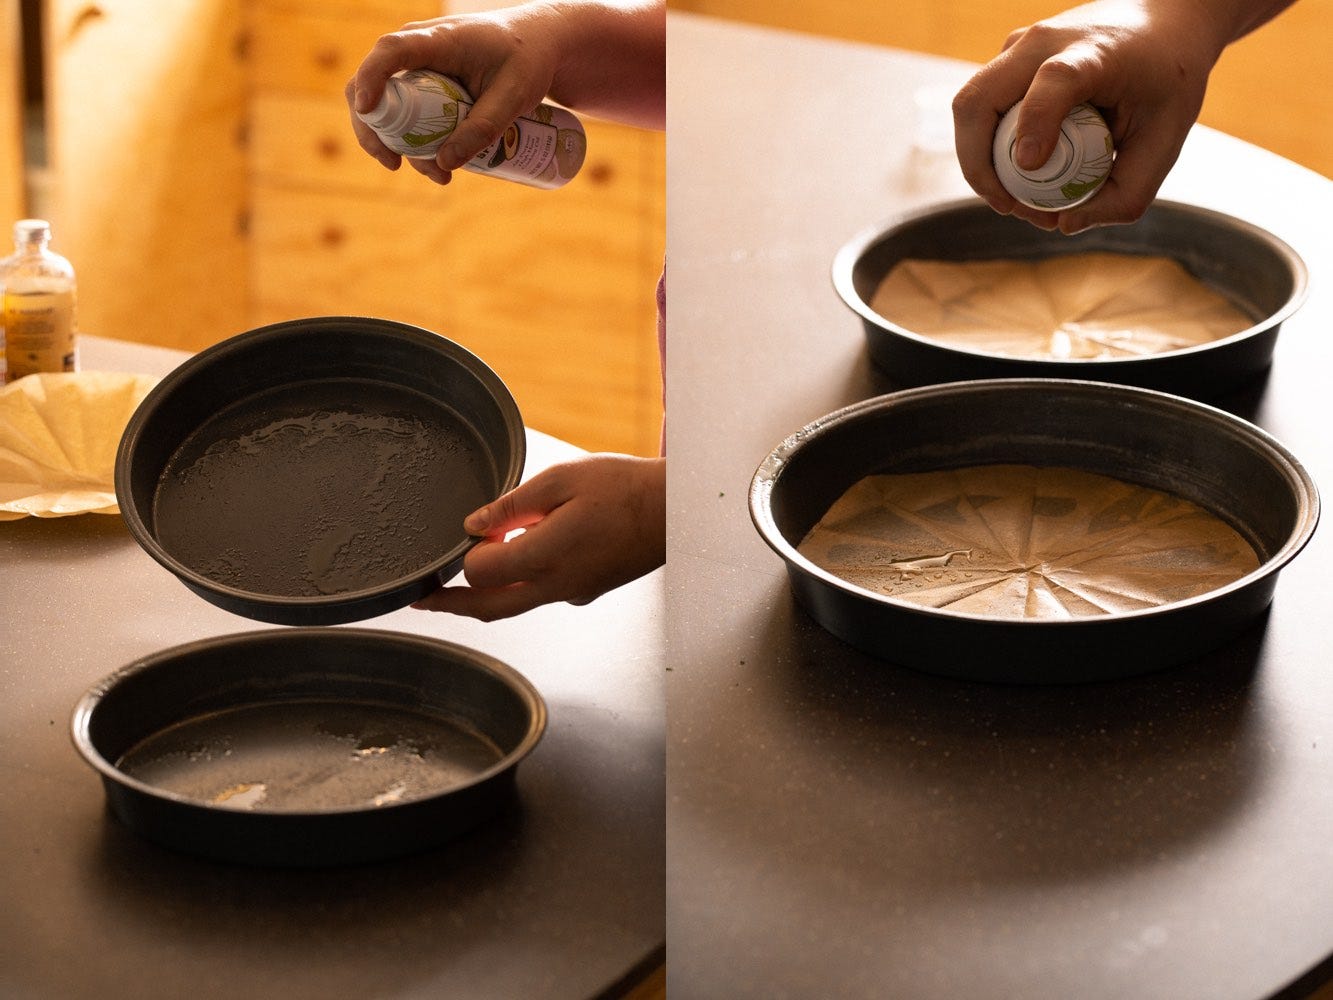
Now prepare your baking pans: I find that two 8” pans work best, but if yours are 9” that’s fine. 10” pans get a bit wide and flat and you will find that you won’t have quite enough frosting. Spray your 8” or 9” pans with cooking spray, or drizzle in a little neutral oil and spread it around with a paper towel. Now make your parchment round: watch this video! Place your perfect parchment round in your greased pan, and then grease the parchment. Set aside while you make the batter.
In a large bowl combine flour, cocoa powder, sugar, baking soda, baking powder, salt, and espresso powder if using. Whisk very well. Make sure all the lumps of cocoa are dissolved.
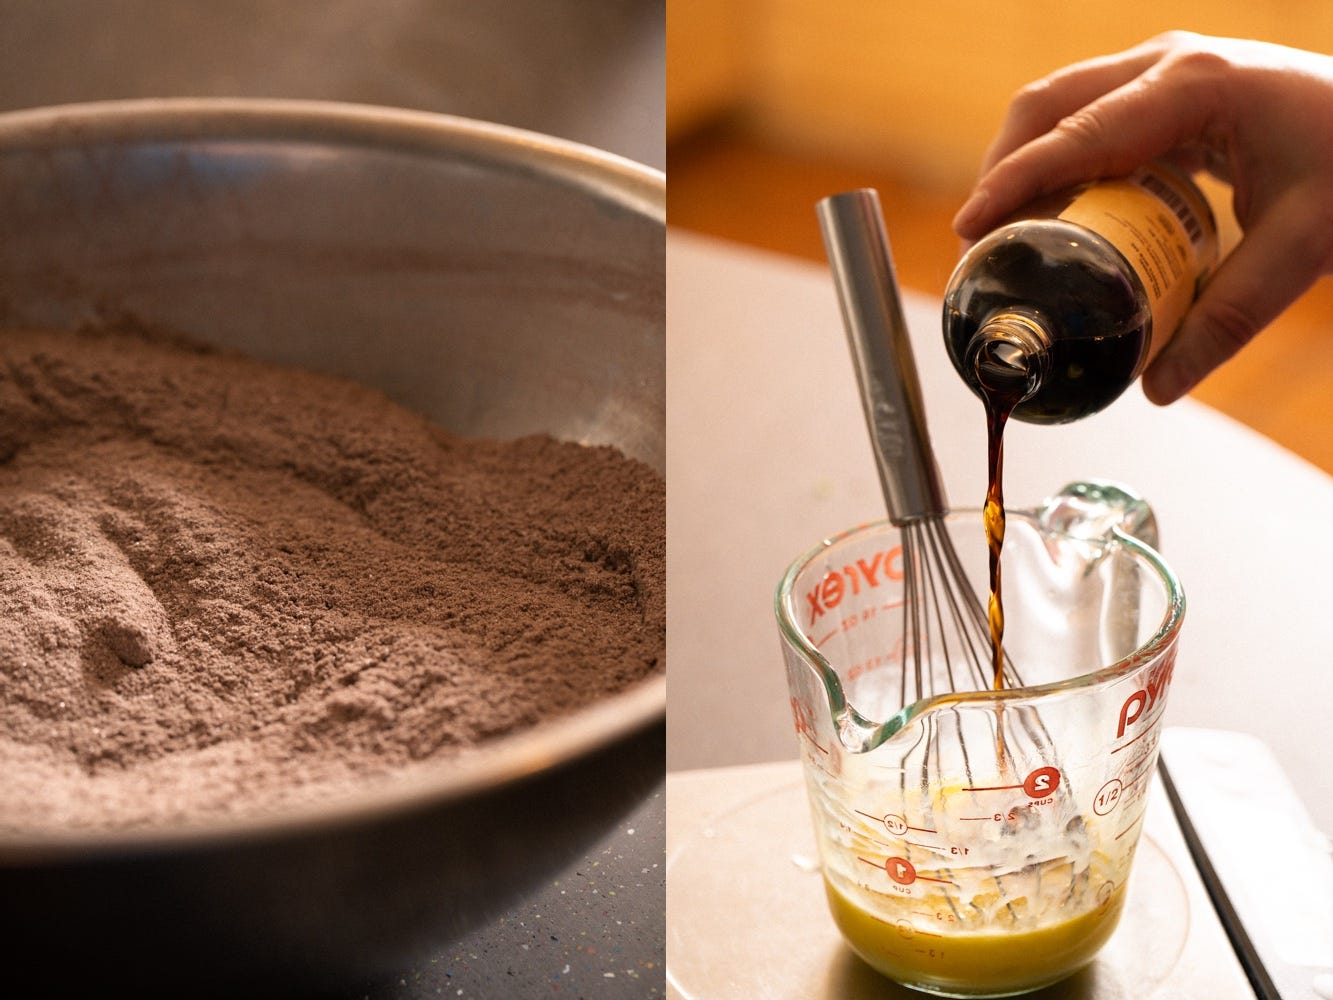
In a smaller bowl (I usually use a 2 cup pyrex measuring cup, as pictured above) crack 2 eggs and whisk thoroughly. Add vanilla extract. Slowly whisk in vegetable oil to emulsify, followed by the buttermilk. Whisk until homogenous.

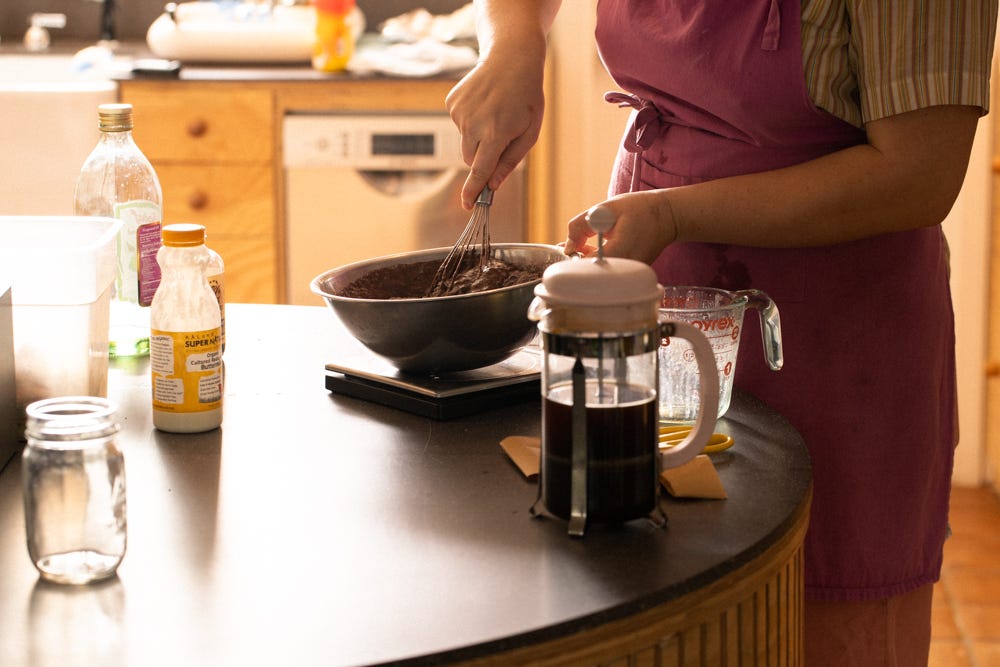
Next, add your wet ingredients to your dries, give it 2-3 big whisks, and then add in your hot coffee, whisking to combine. You don’t want to over-mix, but you do want everything completely blended and smooth. No floury chunks. Once thoroughly mixed, get rid of your whisk and grab a rubber spatula.
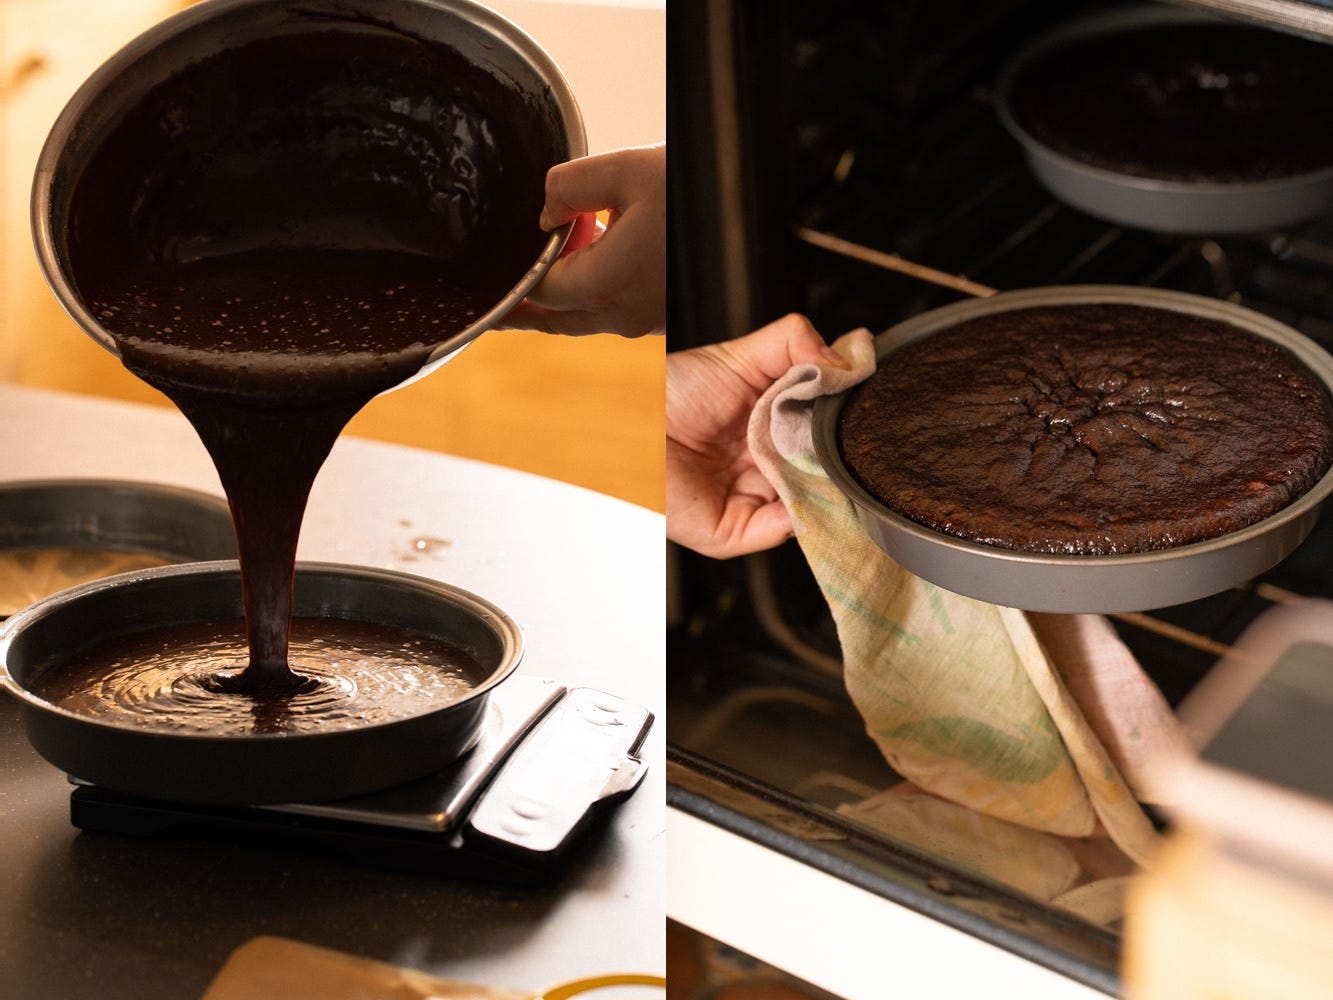
I like to use a scale to make sure both pans have the same amount of batter and they bake evenly. Place one cake pan on the scale and tare out the weight. Add 650g of your cake batter and then repeat with the second cake pan. If you have a little extra batter you can distribute it evenly between the two pans.
Place cakes in pre-heated oven on the center rack and bake for 20 minutes. I’ve found that they can take a range of time to bake, so at the 20 minute mark you want to start checking. Usually they will be done between 22-28 minutes, or until a toothpick comes out clean. Make sure to check both cakes in 1-2 spots because they can cook unevenly. Another helpful barometer is to take the internal temperature of the cake; you’re aiming for 200F.
Once the cakes are done, allow to cool completely in their pans. While the cakes cool, you can make the frosting (recipe below).
Once cool, set up a parchment lined sheet tray as a landing spot and run a knife or offset spatula around the edge of the pan to release, then invert cake onto your hand, remove the parchment round, and gently place the cake on the sheet tray. Repeat with the second cake.
Cakes can be baked 1 day ahead and kept in an airtight container at room temperature, or in the fridge (a cold cake is easier to frost). The texture of the cake is more dense when cold though, so be sure to allow it to come to room temperature before serving. Alternatively, cakes can be tightly wrapped and frozen for a few weeks. Feel free to frost the cake from frozen.

THE FROSTING
290g (2 1/2 sticks or 1 1/4 cups) unsalted butter, at room temperature
¾ teaspoon kosher salt
454g confectioners’ sugar (for many brands this is the weight of one small bag)
80g unsweetened cocoa powder (Droste!)
3–5 tablespoons (45-75ml) buttermilk, at room temperature
1 teaspoon vanilla extract
The two keys to making this frosting are that all ingredients are at room temperature, and that you sift the cocoa powder and confectioners’ sugar so there are no lumps. If your butter or buttermilk are too cold, the mixture will separate. A microwave is a helpful tool to temper your ingredients, but be careful to only do a few seconds at time so the butter doesn’t melt and the buttermilk doesn’t curdle.
For sifting I like this style of sifter, but you can use a fine mesh strainer if that’s what you have at home.
Using either a large bowl with an electric hand mixer, or a stand mixer with the paddle attachment, beat butter with salt on medium speed until light and creamy, about 2 minutes.
Meanwhile, sift confectioners’ sugar and cocoa powder in a separate bowl. Add sifted mixture to the creamed butter, 3 tablespoons buttermilk to start, and vanilla extract. Mix on low to incorporate, gradually increasing speed to medium. Stop to scrape down the sides and bottom of the bowl and then continue to mix. If the mixture seems too thick, add a little more buttermilk, 1/2 tablespoon at a time until it reaches your desired consistency. Whip for a minute or so and that’s it! I find that the frosting is at the perfect consistency for icing the cake at this point, so it’s best to make the frosting right before you need it. Do not refrigerate or it will mess up the texture and you’ll have to re-whip it.

ASSEMBLING THE LAYER CAKE
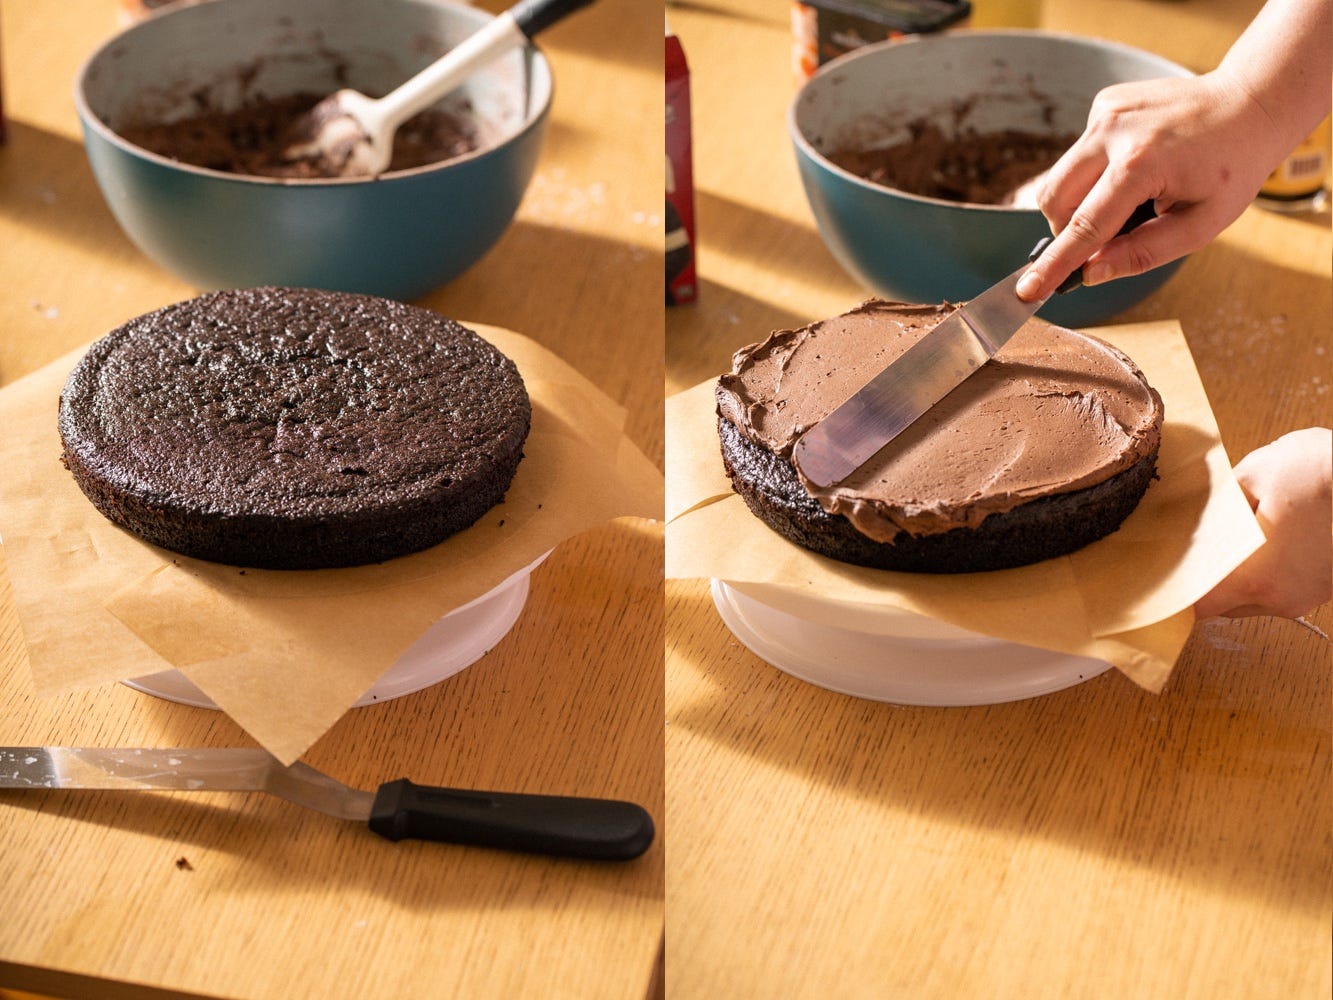
Use a cake stand if you have one, or a flat plate will do. I like to lay down three pieces of parchment in slightly overlapping strips so the frosting doesn’t make a mess of the plate. These will be removed before serving.
If your cakes have a noticeable dome, using a serrated knife to slice across the top and make a flat surface. If your cakes have not domed then you are in luck! Leave as they are.
Place your first cake on the plate and, using a flat or offset metal spatula, evenly cover with about 1 cup of frosting, bringing it all the way to the edge.
Now carefully place your second cake on top of the first layer. Pile on most of the remaining frosting and start to push it towards the edges. Then starting in one spot push the frosting over the edge, and with a gentle smoothing motion spread your frosting along the sides of the cake, pulling down frosting from the top as needed until all sides are covered.
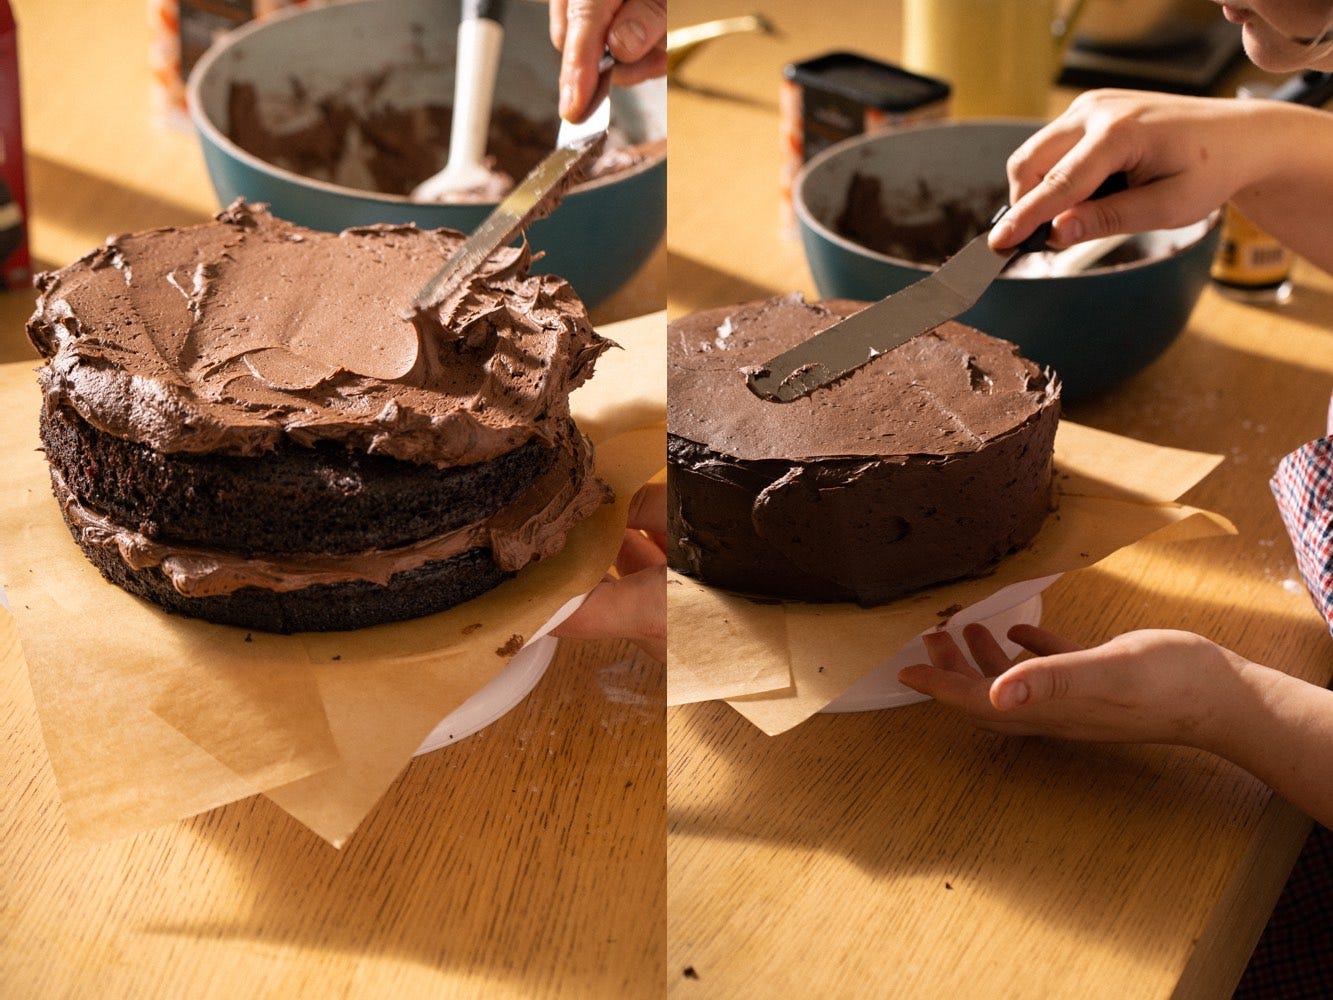
When all sides are covered with frosting, wipe your spatula clean and run it along the sides to smooth everything out. A bench scraper is a useful tool for this job if you have one.
To remove the parchment paper, delicately press your spatula against the base of the cake and pull the parchment away. It should come away freely with a little patience.

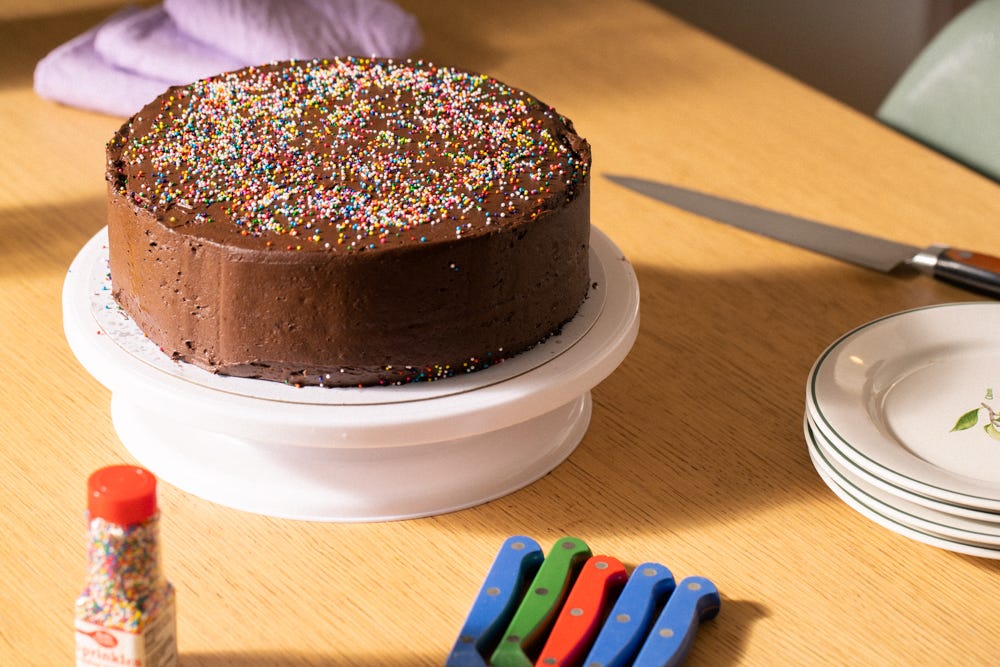
Garnish cake with chocolate chips, flowers, or sprinkles and voila! You have made a layered chocolate cake to impress!
Cake will hold in the fridge or at room temperature for 3-4 days.
can’t wait to try this one. thanks for the beautiful how-to!