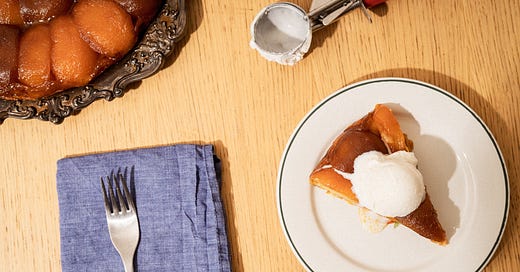
This month we’re making tarte tatin, a perfect way to showcase my favorite pie dough recipe.
I never felt confident making pie dough until I found this Smitten Kitchen recipe a few years ago. I felt like no matter what I did my doughs were almost always too tough, not flaky, or they shrunk when I blind baked them. When they came out well it always felt like a fluke that I couldn’t predictably recreate. With this recipe you use a higher-than-normal ratio of butter to flour, which makes it basically fool-proof because the butter waterproofs the flour to prevent excess gluten formation (more gluten makes a tougher dough). You then roll the dough into a long rectangle and fold it into thirds to create lots of flaky layers, similar to a puff-pastry dough. My version doesn’t stray much from the original, but I like to do these letter folds twice for extra structure and layers, and the process is designed for minimal mess.
Photos by Ben Turner, whose work you can find here.
Although a lot of people like to use a food processor to make pie dough, I find that this recipe does best when made by hand. The food processor can create pieces of butter that are too small, whereas mixing by hand creates a mixture of different sizes. Since we will be rolling out and folding the dough multiple times, you can leave the butter pretty chunky, which will become smashed into thin sheets and will create puffy layers when baked.
Home made pie dough is such a treat, and I promise that with a little bit of practice you’ll find yourself confidently making it, too. It feels so good to finally be able to make really good pie dough every single time.
Thank you for reading my newsletter. I enjoy writing it and sharing it with you all. I want this newsletter to be accessible to all so there is no paywall, but if you can afford it please consider subscribing for $2/month. Thank you!
PIE DOUGH - makes one single crust
Click here for a printable PDF of the recipe without photos
195g (1.5 cups) all purpose flour
10g (2 teaspoons) granulated sugar
2g (½ teaspoon) kosher salt
173g or 6oz (1.5 sticks) cold unsalted butter (I usually use Kerrygold)
about 90g (5-6 tablespoons) ice cold water
As you know, I prefer measuring by weight with any baking because it leads to more consistent results. I’ve included measurements in weight and volume today, but consider this another plea to invest in a kitchen scale!
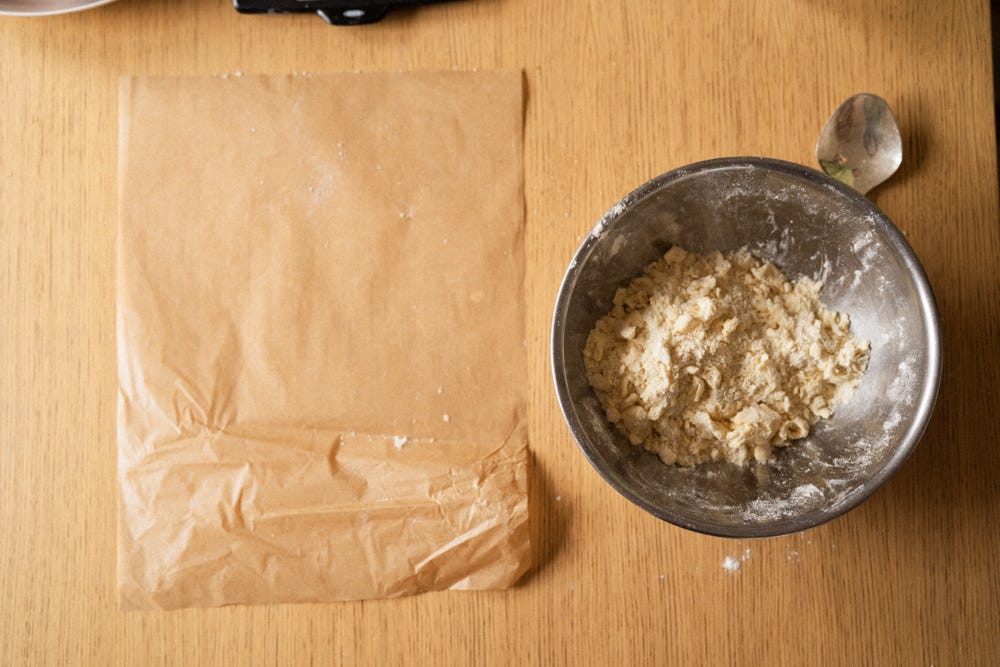
Before you begin, set out a sheet tray sized piece of parchment next to your work station.
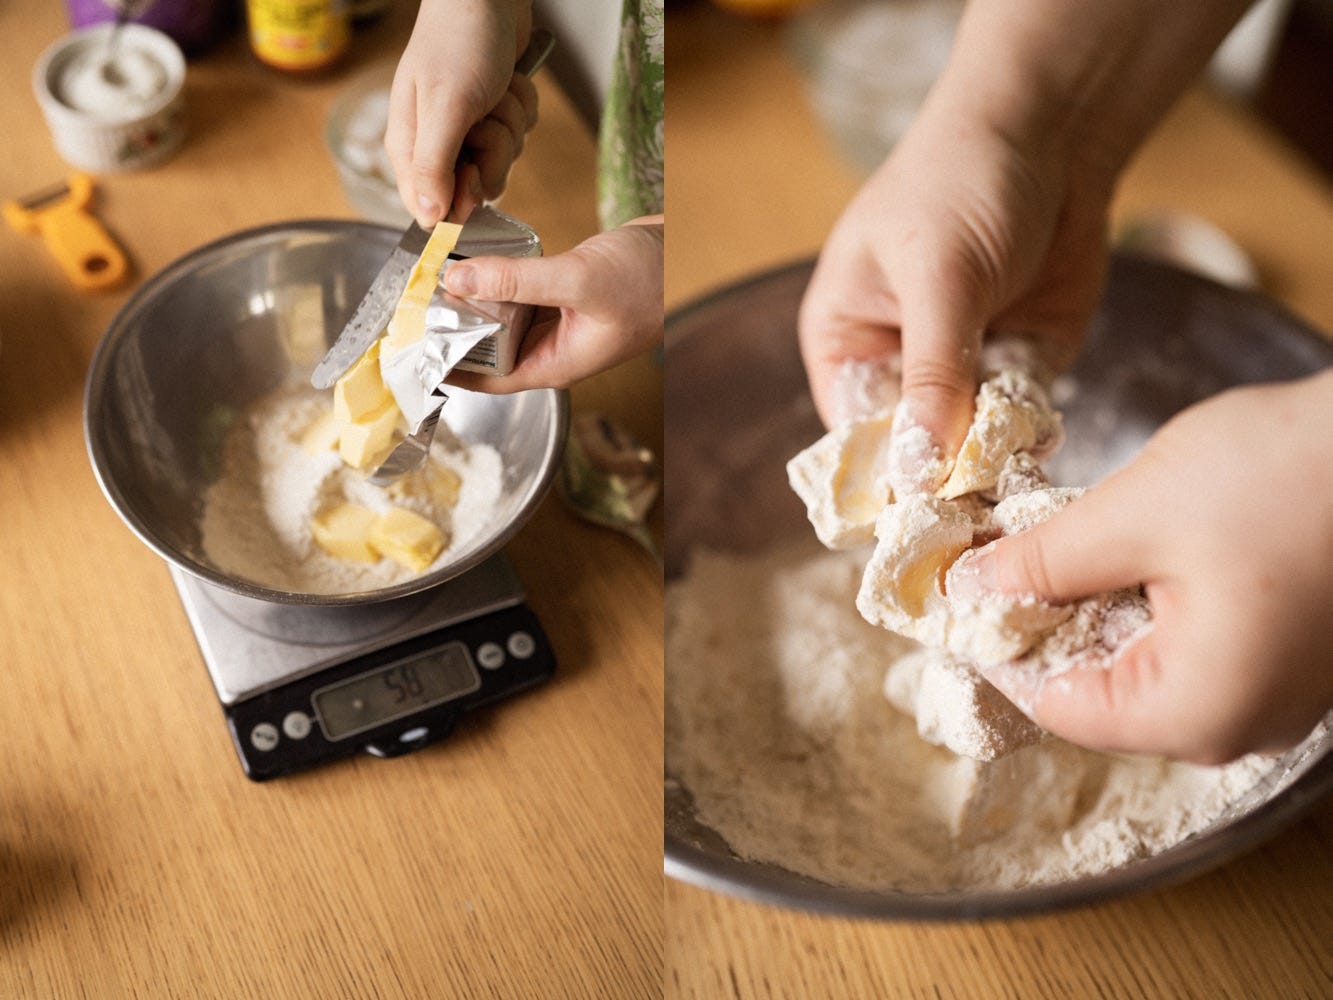
In a medium sized bowl, weigh out your flour, sugar, and salt. Toss mixture together with your fingers. Cut your butter into 1/4 inch slices and add them to the flour mixture. With your hands, toss the butter pieces to coat them in the flour. Now smear the butter into the flour, creating a variety of shapes and sizes. Continue to smear butter into the flour until the butter pieces vary in size from about the size of a pea to a walnut half.
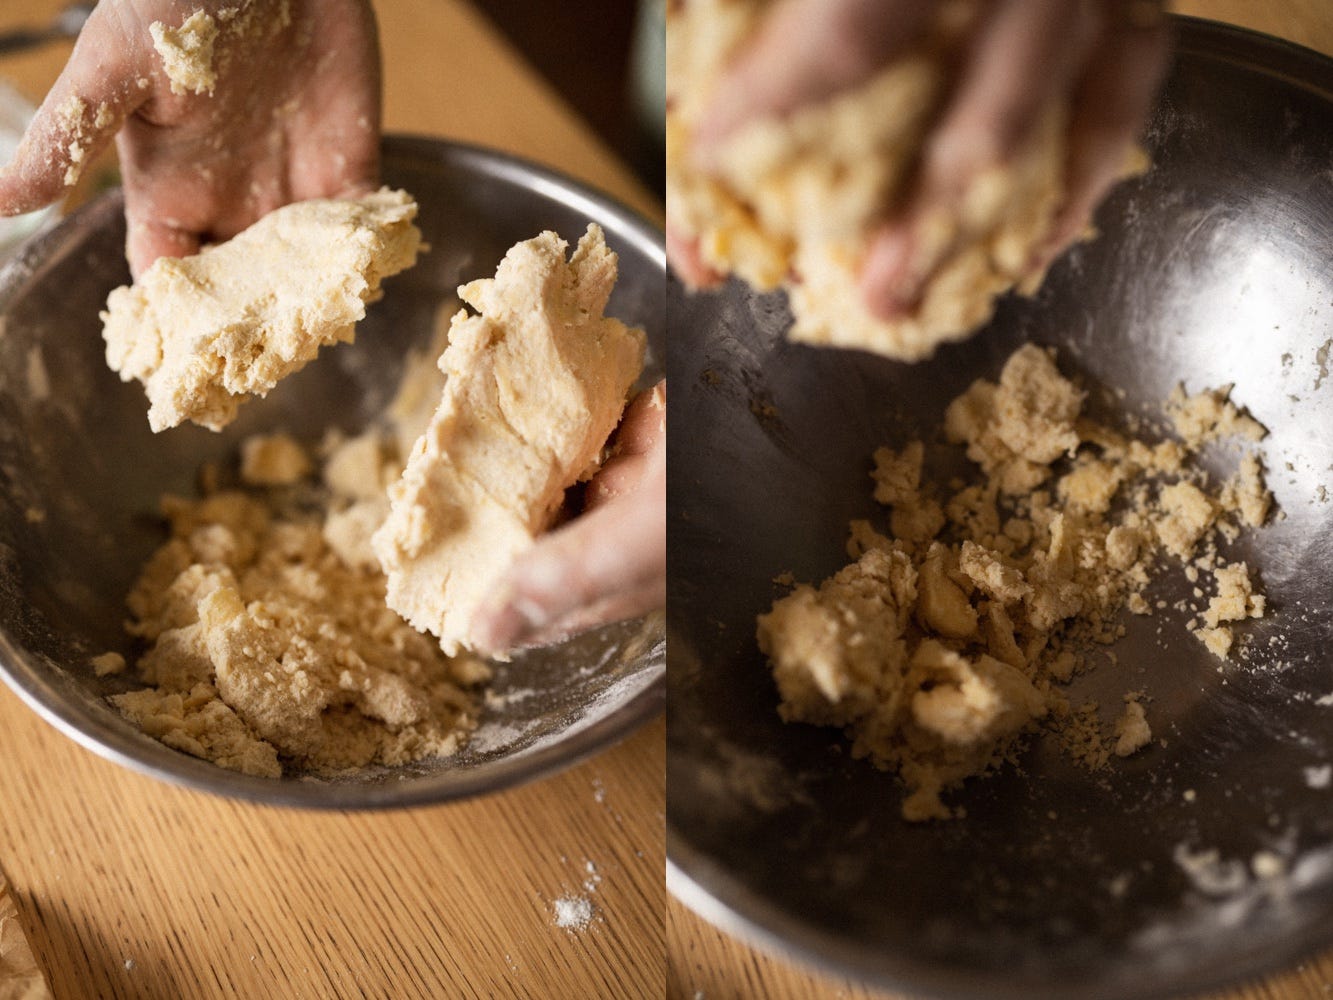
Next you add your ice cold water. Start with 5 tablespoons and drizzle it all over the flour-butter mix. Now toss delicately with your finger tips to combine. To check if you need more water, squeeze a bit of the dough in your fist and check if it sticks together. It should be well hydrated, but not wet or sticky. I also like to lift up the bulk of the dough and check for any dry flour bits at the bottom of the bowl. If needed, drizzle over 1/2 tablespoon at a time until all the dough is mostly hydrated, a few crumbly bits are fine, though, and will be worked into the dough later. Be careful not to over-mix at this point; now that the flour has been mixed with the water, gluten will continue to form if you mix the dough too much. Your dough doesn’t need to be in a smooth ball yet.
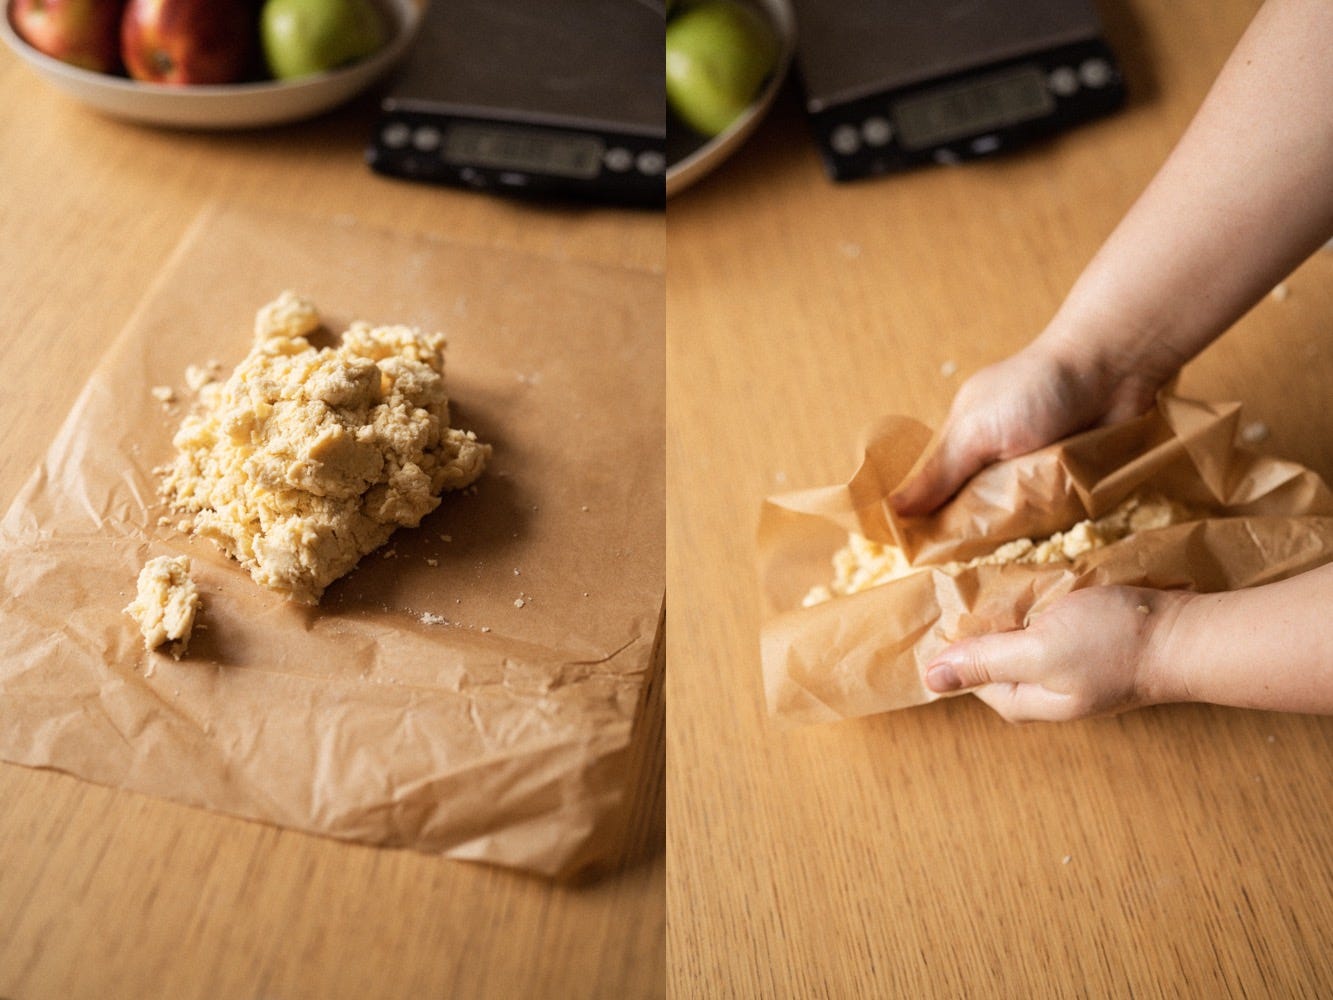
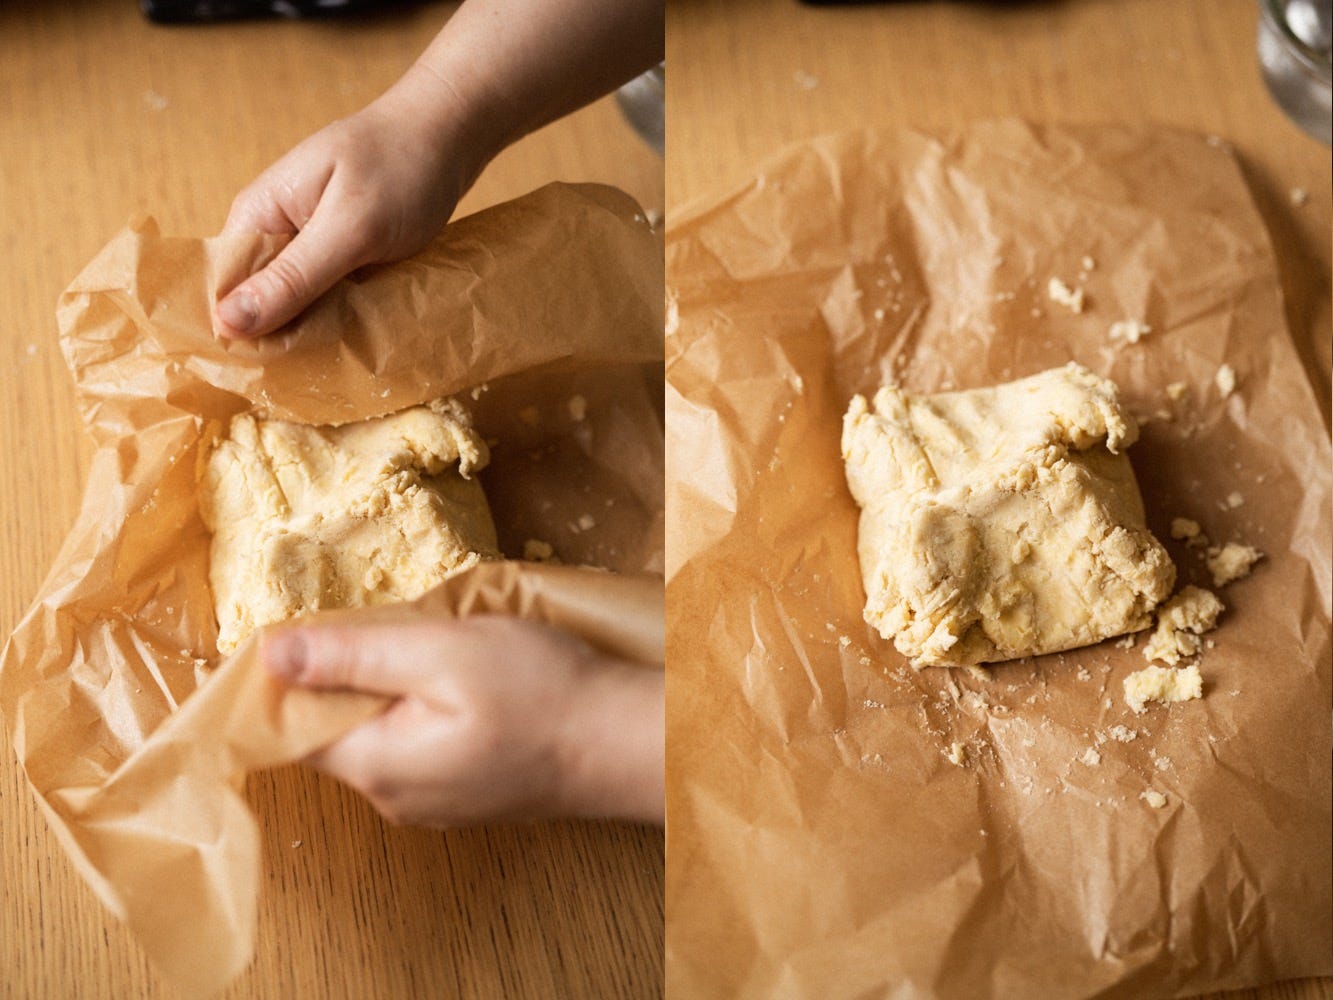
Place your shaggy dough onto the parchment paper. At this point you can wash your hands. Grab onto two opposite ends of the parchment and squeeze the dough inside of the parchment. Now grab the other two ends and squeeze the dough again. This process allows you to shape the dough and hydrate the crumbly bits without over-working the dough. Finally, wrap the parchment around your dough, creating a square parcel, and smash the dough so it fits tightly into the corners of the parchment. Place in the fridge until fully chilled, for a minimum of 45 minutes, or up to a day in advance.
If you’re making the tarte tatin, now is a good time to start prepping your apples (recipe below).
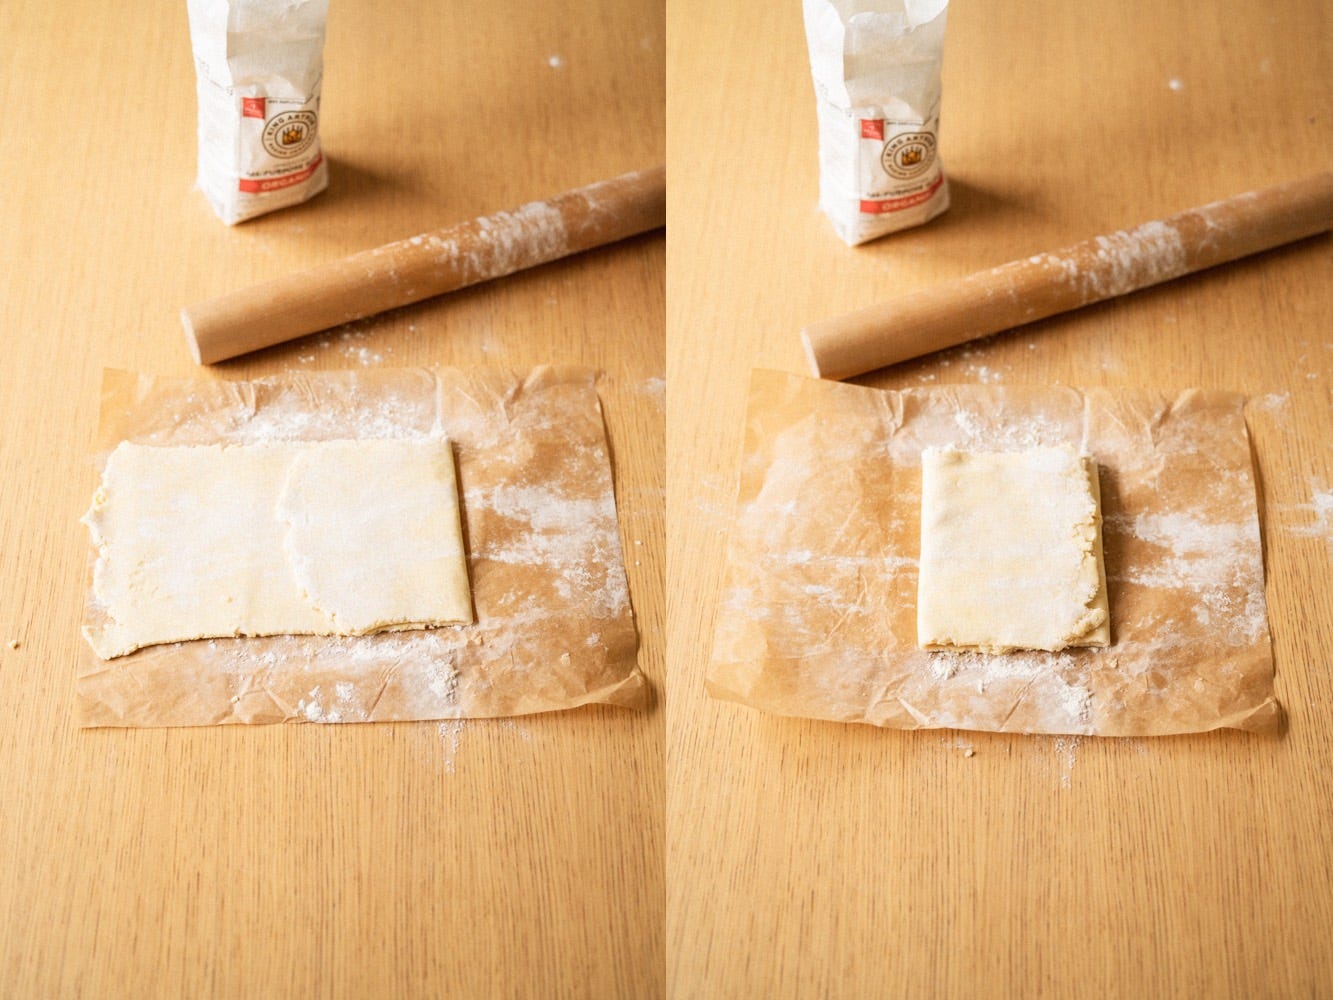
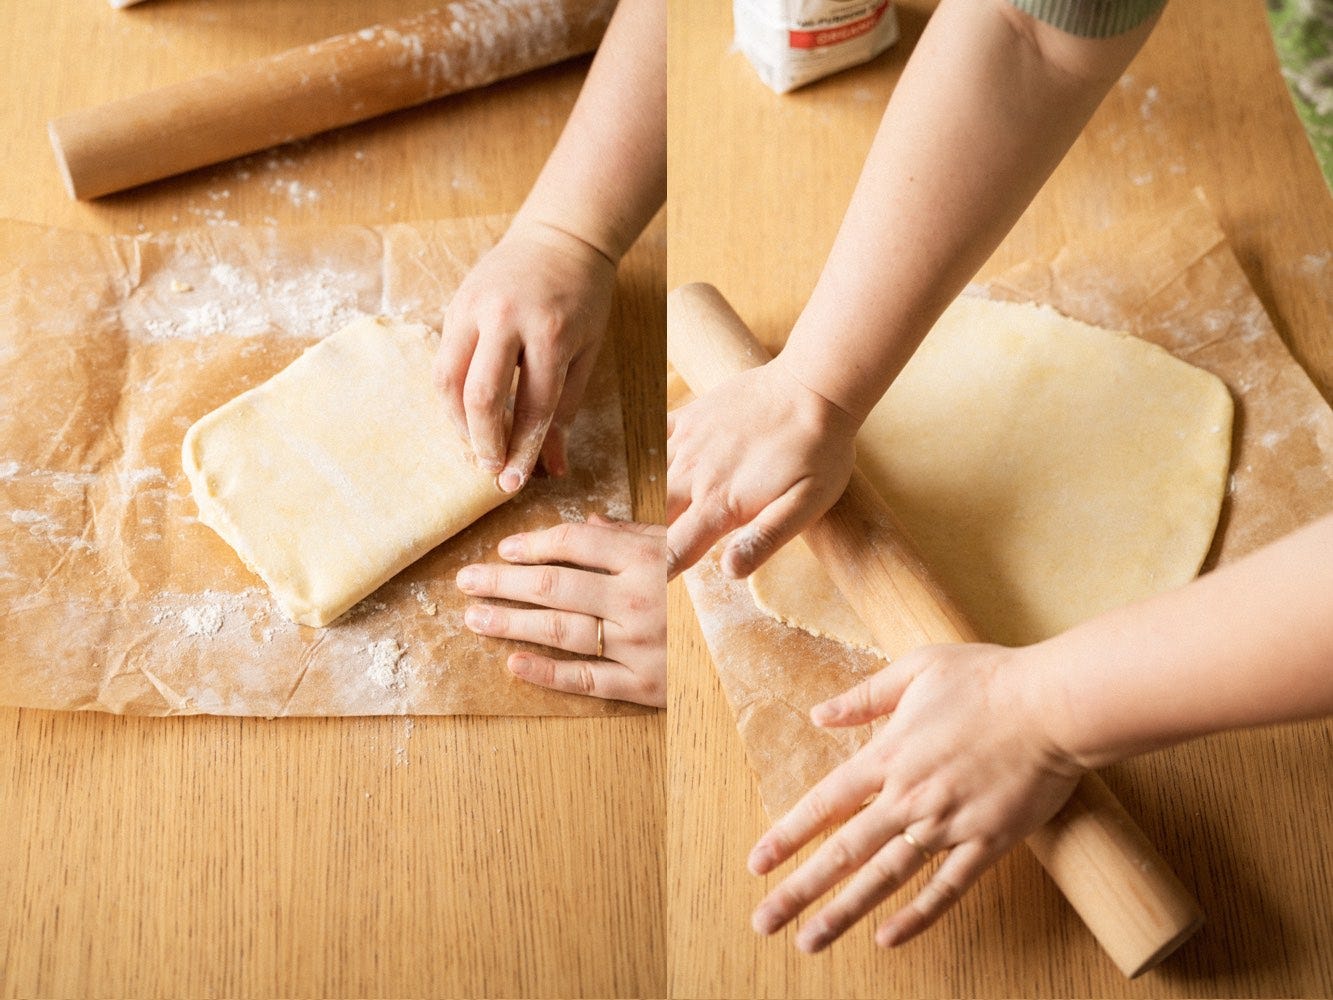
Once the dough has chilled, unwrap the parchment and dust it lightly with flour. I like to roll out the dough on top of the parchment to prevent more mess, but you’re welcome to do this on a clean work surface instead. Grab your rolling pin and start pressing into the dough to flatten it, this is a good way to start working the dough without any gluten formation, which rolling will do. Once you’ve pressed the divets into the dough, you can now start rolling it into a long rectangle, a little longer than the size of your parchment (about 20 inches). Check to make sure the dough isn’t sticking, lightly flouring as needed. Next, fold the rectangle into thirds as you would fold a letter. And repeat this process - roll the dough into a long rectangle and then fold into letter thirds.
I like to roughly press the corners in to turn the dough from a square to more of a freaky looking circle. At this point you can stop and wrap the dough tightly to freeze for another use. Or, proceed to cut the dough for whatever use you have plans for - a pumpkin pie, savory galette, or in our case, an apple tarte tatin!
Now roll into a rough circle about 1/8 inch thick, lightly flouring your surface as needed, and turning the dough frequently to prevent sticking. The tarte tatin recipe calls for an 11 or 12 in skillet, so either using the pan itself, or a measuring tape, cut a circle to fit the size of your pan. Place your cut piece of dough on a sheet tray and refrigerate for at least 20 minutes, or freezer for about 10 minutes.
BONUS RECIPE
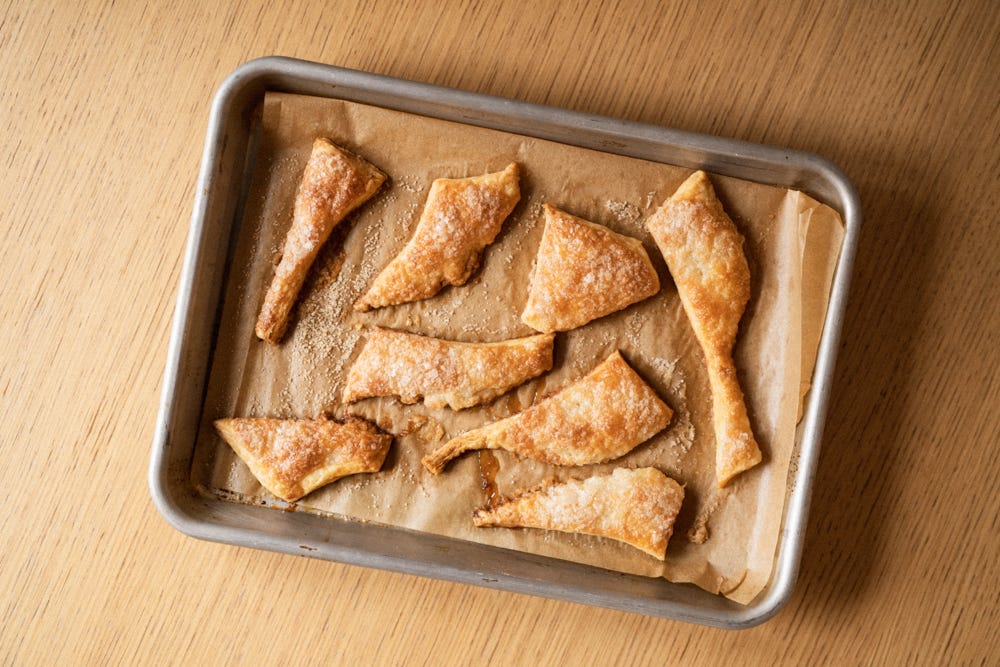
I like to turn the pie dough scraps into sugar cookies! A chef’s treat!
Roughly cut the scraps into pieces and place on a sheet tray lined with parchment. Brush the dough with beaten egg, milk, cream, or even water (I just used water here), and then generously sprinkle with sugar. You need the liquid so the sugar has something to stick to.
Bake at 375F until golden brown. Eat while warm. Thank me later!!!!
TARTE TATIN - serves 6-8
6-7 apples - I like to use a mix of varieties, but you can use whatever you’d like
1 tablespoon apple cider vinegar or lemon juice
¾ cup granulated sugar
4 tablespoons cold unsalted butter, cut into cubes
½ teaspoon salt
2 teaspoons vanilla extract
1 batch of pie dough
Preheat your oven to 375F.
Start by peeling, quartering and removing the cores of your apples. You will need 6-7 depending on their size and the size of your pan. Toss cored apples in 1 tablespoon apple cider vinegar or lemon juice. Set aside.
Next, make the caramel. In a 11” or 12” skillet (it is preferable to do this in a stainless steel or white enamel pan so that you can see the color of the caramel), turn heat to medium and add your sugar. Shake the pan so the sugar is in a single layer. The sugar will melt, and then it will begin to caramelize, turning a light golden brown. We are looking for a dark caramel color, as the butter and juices from the apples will dilute it later. I usually wait until I start to see a little smoke coming off one side of the pan. Turn off heat and add your butter, one cube at a time, swirling until each cube has melted before adding the next. Now add your salt and vanilla extract.
Next, start to lay in your apples, cut side up. You want to squeeze them in as tight as you can because as they cook their juices will evaporate and the apples will shrink.
Once the apples are tightly in the pan, turn the heat to medium-high and boil for about 8-10 minutes to partially cook the apples and reduce the cooking liquid.
Turn off the heat and gently place your pie dough over the apples. I like to use the back of a spoon to press the dough around the edges of the pan so it envelopes the apples. Now put your tarte tatin in your preheated oven and bake for 30-40 minutes, or until the crust is golden brown and cooked through.
Remove from the oven and allow to cool in the pan for 15-20 minutes. We want the caramel to cool and set up a little bit so the juices don’t run all over the place when you flip it out, but if you let it cool too long you risk the caramel and apples sticking to the pan.
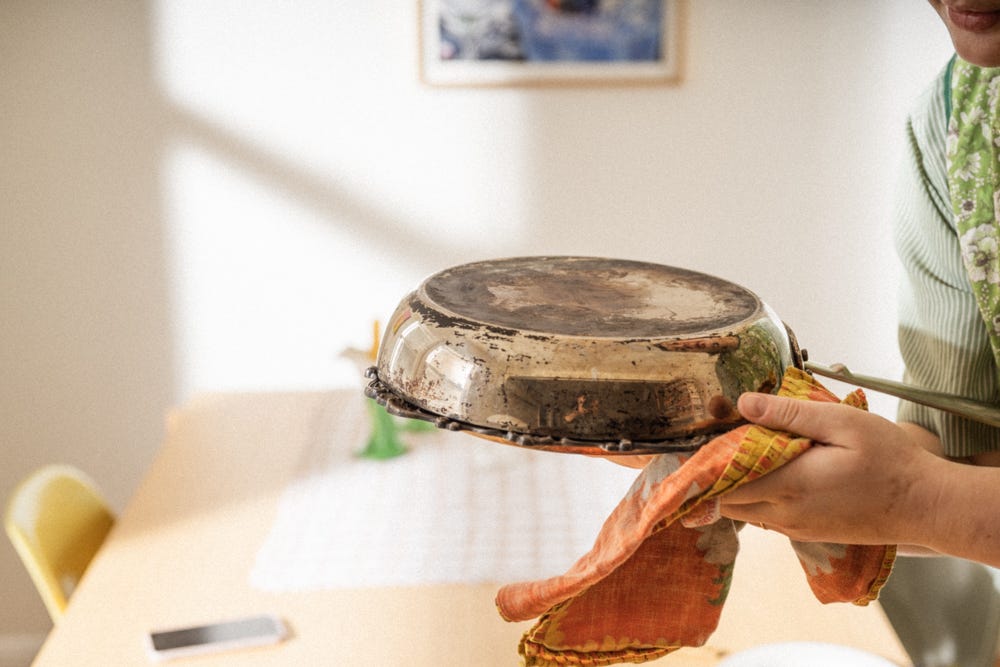
After 20 minutes, give the pan a shake to ensure nothing is sticking, and then place your serving platter on top of the pan, and flip it over quickly and with as much confidence as you can muster! You might want to do this over a sink to avoid any spillage. And voila! You have made a beautiful tarte tatin. If any apples stick, you can just delicately place them back on the pie and no one will know the difference.
Serve with ice cream.
