A note on the subscription - my newsletter is still free for all, but I would encourage anyone who is reading to subscribe for $2/month. If you are a free subscriber you can change to paid by clicking the “subscribe now” link below.
Thank you for reading! Please share with friends and family!
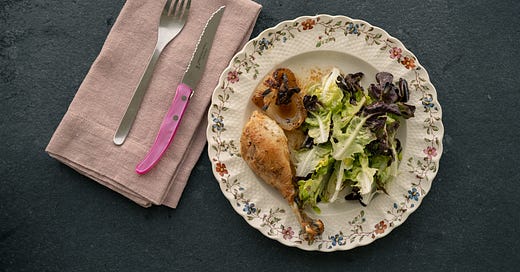
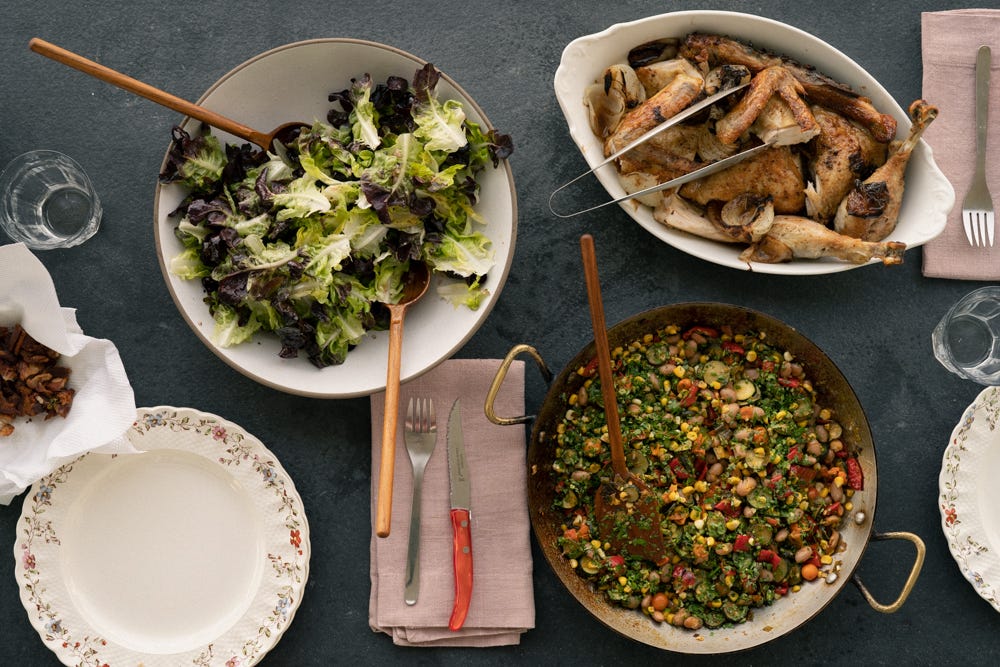
My sweet and wonderful spouse Lucas was born in August and every year I offer to make them some new extravagant birthday dinner, but all Lucas ever wants is roast chicken and salad. They don’t even want it served with crispy roasted potatoes, or chicken fat soaked croutons, or buttery herby rice. Just chicken and salad. So here we are in August, and here is a recipe for my love - roast chicken and salad.
Do we need another recipe for roast chicken in the world? I don’t know. I do know that roast chicken is one of the most delicious things to eat. I also know by now that this newsletter is about inspiring ideas and sharing a way of thinking about cooking that will help to make you a better cook, and I think that talking about roasting a chicken is a really good way to lead us there.
The first big question for me was, “what is the best way to roast a chicken?” I roast chickens often and I roast them a lot of different ways. Sometimes I’ll roast a bird whole, but more often I will spatchcock it. I definitely always salt it ahead, but sometimes that’s in the form of a dry brine, and sometimes it’s a wet brine. Sometimes I add more than salt to the brine - maybe a little sugar or honey, some herbs or garlic or lemon. Sometimes I roast it hot and fast, and sometimes I go looowww and slow for a sort of half roasted/half braised style of chicken. Sometimes I even roast it in a dutch oven with the lid on (a la Dorrie Greenspan). Sometimes I use butter, sometimes olive oil, and if I have some bacon fat around I might use that. Sometimes I roast the chicken with potatoes and carrots and onions and sometimes alone. Sometimes I make a sauce out of the drippings and sometimes I’m too lazy for that. These are all the best version, because they are all whatever it is I am in the mood to eat and to cook in that moment, and because I am in tune with my ideas and my desires and how to get there.
As I was racking my brain trying to decide which version of roast chicken would be the best to share with you, a friend happened to recommend a cookbook-adjacent book called Cooking as Though You Might Cook Again by Danny Licht. Early in the book Licht writes,
“I imagine an old way of cooking: an Italian grandmother in her kitchen with the confidence to cook what she pleases. After having spent a long time in the kitchen, this grandmother knows that it does not matter all that much whether she uses two cloves of garlic or six or even ten in her well-loved tomato sauce. So long as the garlic gets cooked, and so long as the dish is seasoned well, the amount of garlic only changes the amount of garlic. The dish will not become better or worse, only more or less garlicky. I imagine this grandmother leaning in to her children and grand children to tell them, to promise them, to swear: it will be delicious, do not worry.”
This is how I think about cooking; it does and it does not matter which way I roast the chicken, as long as I’m cooking what I feel like cooking that day, with purpose and thought. There are some rules in cooking, but mostly you can do whatever you want if you’re thinking about it. I love a recipe like roast chicken because you can cook it over and over and try new techniques and new seasonings and roast it at a different temperature or with a different fat. It will be delicious and you will figure out what you like and how to get there. These lessons can then be applied to other recipes and that’s how you will become a better and more confident cook.
Here are some things to think about before you roast a chicken:
You should salt your chicken 1-2 days ahead of time. A lot of people will salt a chicken right before roasting it and I really find that it is so incredibly worthwhile to salt ahead of time. The salt totally penetrates the meat, so you end up with fully and perfectly seasoned chicken, AND the salt helps to keep the meat more juicy. This extra juiciness also gives you a lot more room for error if you accidentally over-cook the chicken. You can dry brine or wet brine your chicken.
Dry brining vs. wet brining: A dry brine is simply salting ahead of time. A wet brine is a liquid in which salt is dissolved, and you will typically submerge your chicken in this liquid for 12-24 hours. Both techniques are great for different reasons. I tend to dry brine more than I wet brine simply because it’s easier and takes up less space in my fridge. A wet brine is worth trying, though, because it truly does yield the MOST juicy chicken. You can also infuse any flavors you’d like into the wet brine - garlic, lemon, onion, fennel, herbs, spices, anything!
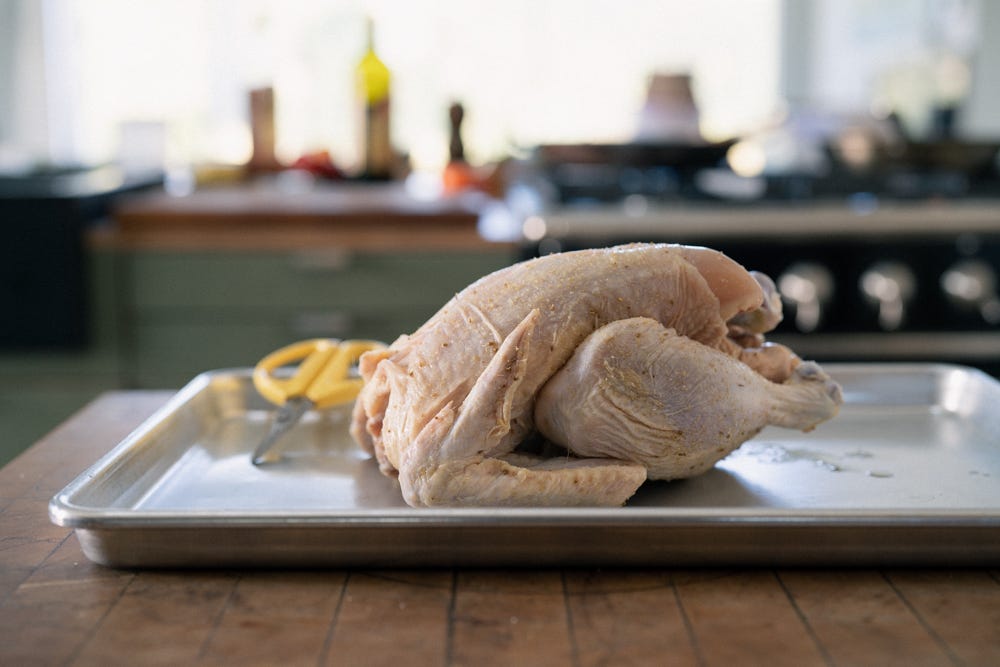
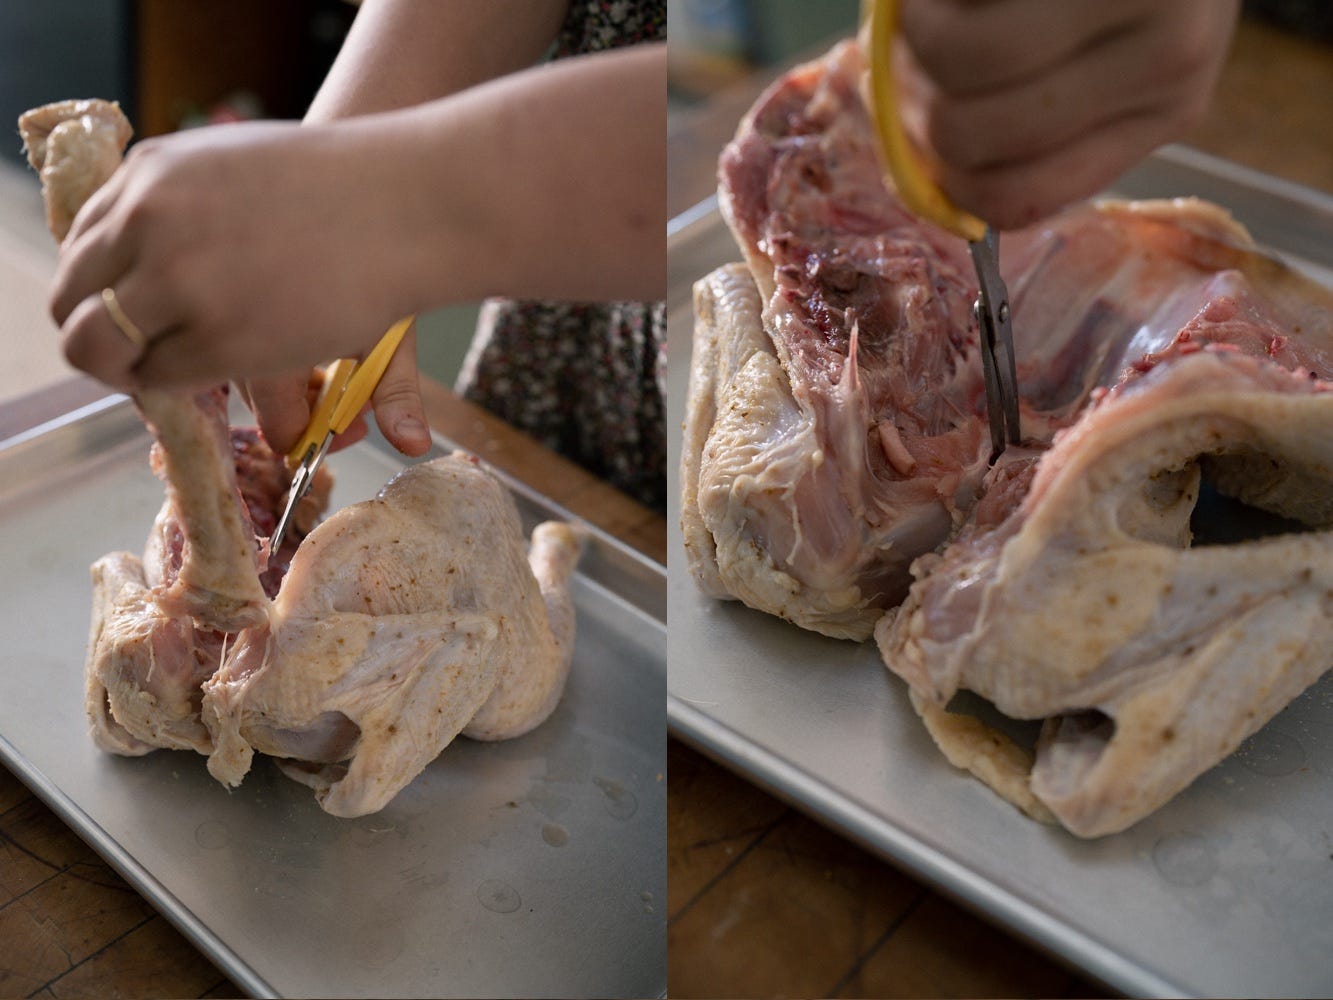
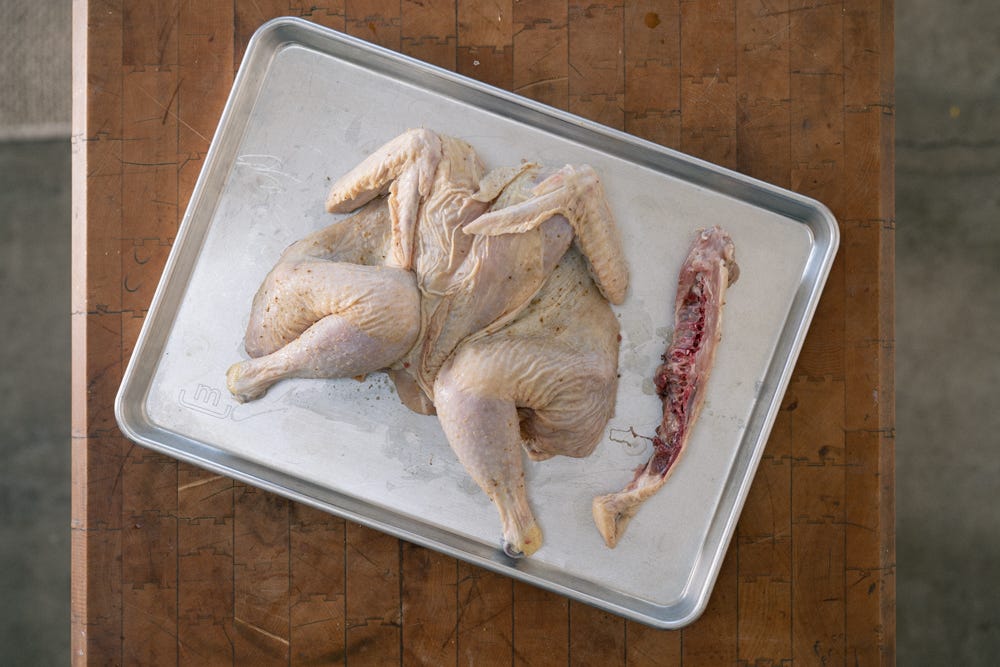
Roasting whole vs. spatchcocked: The look of a whole roast chicken is pretty unbeatable, but more often than not I like to spatchcock a chicken. This just means cutting out the back bone and splaying out the bird. Not only does the chicken cook a bit faster, but you are opening it up and creating more surface area for browning. I also find that you get perfectly cooked light and dark meat. Light meat is finished cooking at a lower temperature than dark meat, and by splaying open your chicken, you are helping the legs to cook a bit faster than the breast. When cooking a whole chicken you will often end up with perfectly cooked dark meat and over-done light meat. Spatchcocking solves this problem.
Air drying for crispier skin: A lot of recipes will have you pat your chicken dry, leave it uncovered on a tray in your fridge overnight to dry out the skin, or go as far as to have you use a hairdryer to completely dry the skin of your bird. Personally, I’m not really looking for shatteringly crispy chicken skin as much as I’m looking for golden brown, sticky and saucy chicken, so I generally tend to skip the extra drying step.
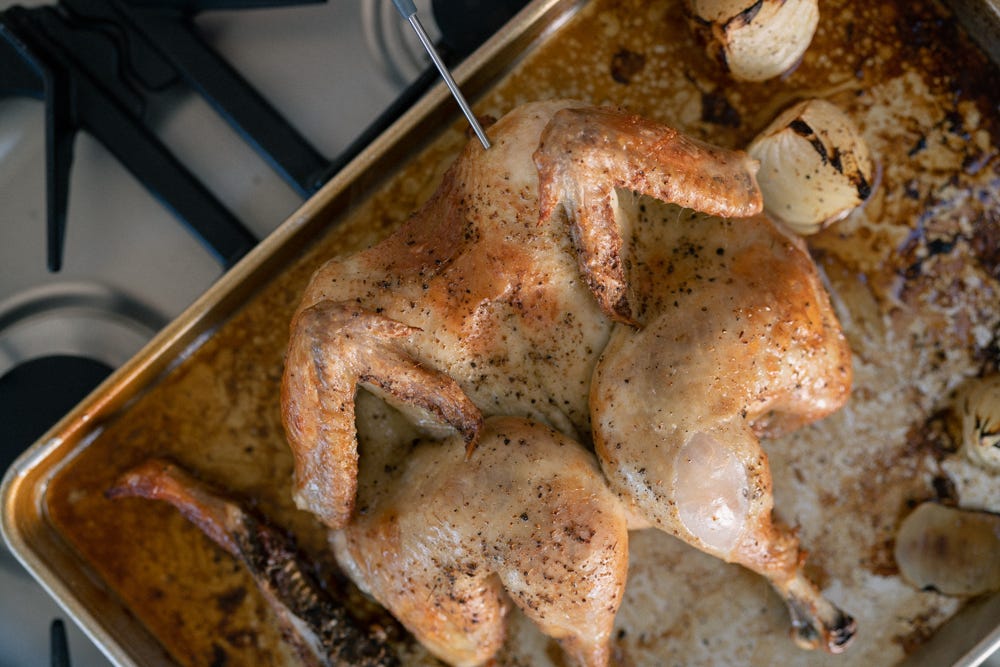
Determining doneness with an instant read thermometer: I always check for doneness with an instant read thermometer. ALWAYS. Like a scale, an instant read thermometer is invaluable in any kitchen. Insert your thermometer at the thickest part of both the breast and the thigh. A lot of recipes say to cook chicken to 165F, but I find that this leads to an overcooked bird since the meat will continue to cook as it rests. For perfect chicken breast, cook to 155F. Ideally the dark meat should reach at least 175F (dark meat needs to reach a higher temperature to break down its connective tissue, and this makes for more tender meat).
Do you have any other tips or tricks for roasting chickens that I haven’t shared here? Please comment or write to me! I’d love to hear!
Photos by Ben Turner, whose work you can find here.
DRY BRINE RECIPE (for one 4 pound chicken)
1 tablespoon + 1 teaspoon kosher salt
1 teaspoon sugar (this brings out the sweetness of the chicken and will help it to brown)
optional flavorings could be about 1/2 teaspoon of any of the following: garlic powder, onion powder, fennel pollen, ground fennel seeds, black pepper, turmeric, curry powder, ground coriander, etc.
24-48 hours before roasting: mix salt, sugar and any additional flavorings until thoroughly combined. Sprinkle salt mix all over the chicken. Put the chicken in a container, covered or uncovered, and refrigerate until ready to use.
WET BRINE RECIPE (for one 4 pound chicken)
1 cup kosher salt
¼ cup honey or sugar
3 cups water + 3 cups ice water, the ice water should be mostly ice!
Optional flavorings: sage, rosemary, thyme, tarragon, parsley, garlic, halved lemons, bay leaves, shallot, onion, fennel, carrot, fennel seeds, juniper berries, coriander seeds, black peppercorns, etc.
In a small pot combine the salt, honey or sugar, 3 cups of water and any flavorings of your choice. Bring to a simmer and cook for 2 minutes. Turn heat off and allow flavors to infuse, at least 10 minutes. Add ice water to dilute and cool down your brine. The brine should be room temperature, or cold, before pouring over your chicken. If your brine is too hot, it will start to cook the bird! The chicken should be fully submerged in the liquid and brined overnight. Do not leave the chicken in the brine for more than 24 hours, or it will become too salty.
A RECIPE FOR ROAST CHICKEN
One 4 pound chicken, dry or wet brined
3 tablespoons fat - butter, olive oil, or bacon fat
One onion, peeled and quartered
1/4 teaspoon black pepper
1/4 teaspoon fennel pollen
1/2 cup liquid, maybe more if needed (this could be water, white wine, half water and half white or red vermouth, cider or chicken stock)
First, preheat your oven to 450F.
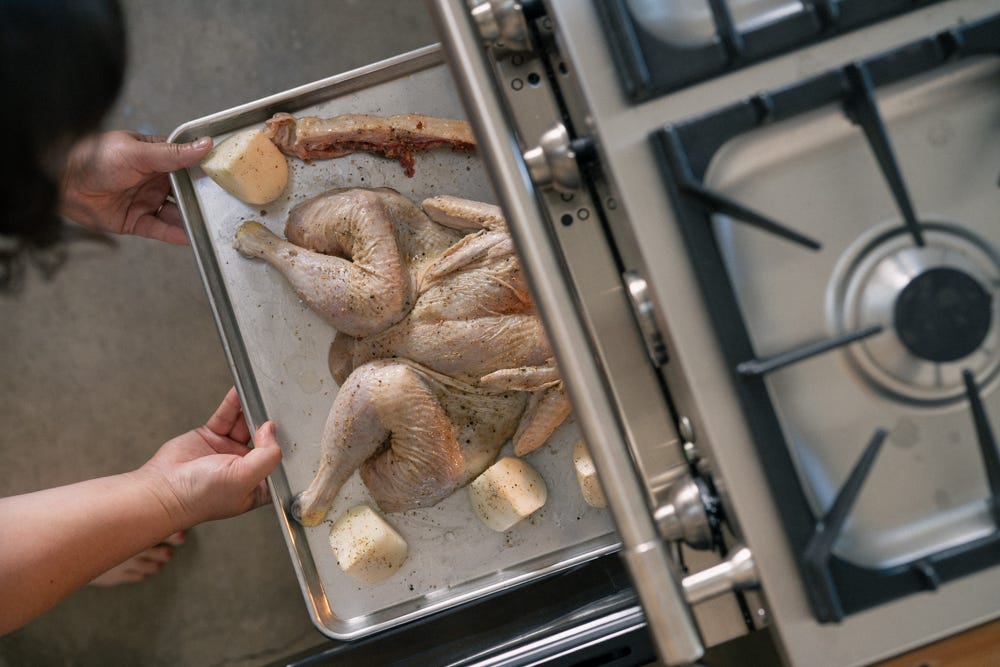
Next, spatchcock the chicken: with kitchen sheers, cut on either side of the spine to fully remove it. I like to roast the spine alongside the chicken for a cook’s treat. Snip through the back of the breast bone to help open up the chicken. Flip over and press gently on the breast to flatten.
Scatter the quartered onion around the pan (feel free to add fennel, carrots, or any other veggies you’d like to use).
Rub fat of choice all over the chicken, spine and onions. Sprinkle with black pepper and fennel pollen (or any other flavorings you’d like). Add 1/2 cup liquid to the pan to prevent any drippings from burning and so you can make a little sauce from the drippings later.
Put the chicken in your preheated oven and set a timer for 20 minutes. Every oven is different so after 20 minutes I like to check on the chicken - how does it look? If it’s a pale golden brown then the oven temperature is probably just right. Or maybe it’s really pale and doesn’t have much color at all, so you might want to increase the heat to 500, or even broil it for a few minutes to give it some color and then let it finish cooking at 450. Or maybe it’s perfectly golden brown and another 20 minutes at 450 could burn it, so lower the heat way down to 300 and let it finish low and slow without giving it any more color. Also, look at the pan - has the liquid totally evaporated or is there still a little pool in the pan? If it’s evaporated then add another 1/4 - 1/2 cup of liquid. Rotate the pan so the chicken is facing the opposite direction than it was before, and set another 20 minutes on your timer.
After 40 minutes of total cooking time your chicken might be done. You’ll want to check both the breast and thigh—175F for the thigh and 155F for the thickest part of the breast. If you’re not quite there, check every 5 or 10 minutes until done.
Now you should rest your bird for at least 15 minutes before carving. I like to add a splash of vinegar to the pan and scrape up all the brown bits for a nice pan sauce. Taste it! Maybe you want to add a little salt or vinegar, or a spoonful of dijon or grainy mustard. Carve up your chicken and serve alongside a big salad.
A RECIPE FOR SALAD, serves 4
3 small heads lettuce
1 tablespoon minced shallot
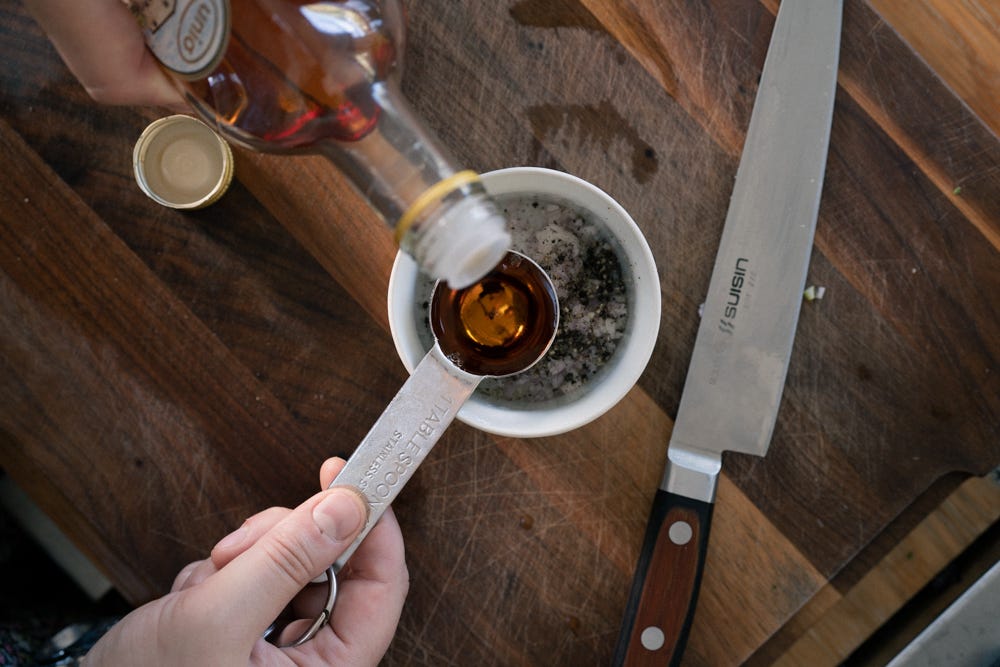
2 tablespoons vinegar, you know my favorite is this Moscatel vinegar
3 tablespoons good olive oil
1 teaspoon whole grain mustard
Salt and pepper to taste
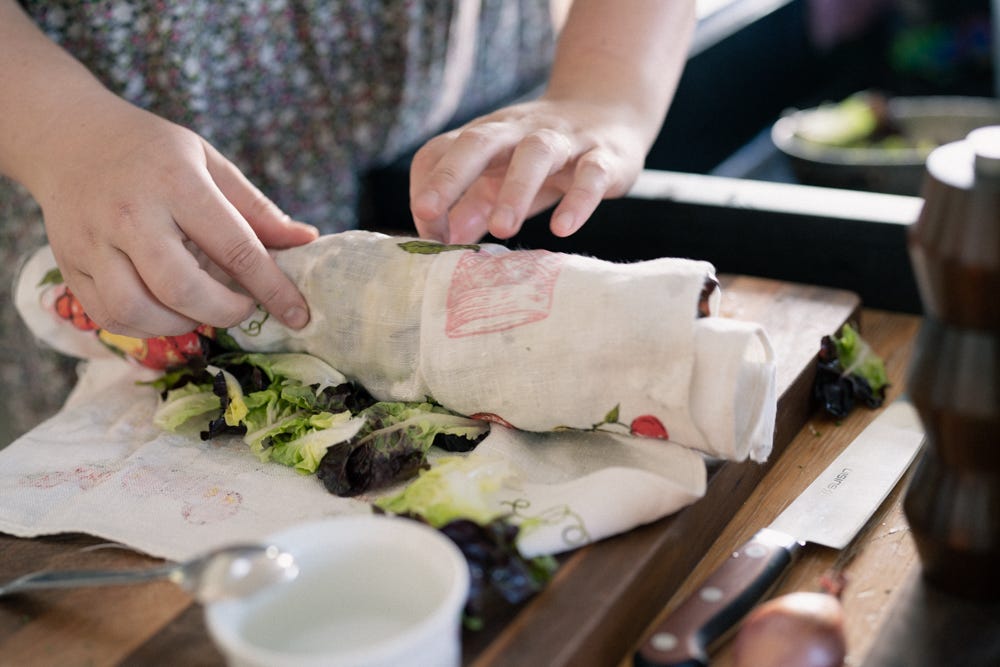
First you will want to wash your salad greens. A lot of people make the mistake of putting the leaves in a colander and spraying the leaves with water. This will not really clean your lettuce of any grit or dirt. A better way of washing greens is to give them a good bath. This applies to all greens—kale, chard, spinach, etc. Start with a container that is a bit bigger than the amount of greens you are washing so that they have room to move around. Cover by a few inches with water and gently agitate so any sediment can drop to the bottom. Then, gently lift the lettuce out of the water and into a colander or salad spinner. If the water looks dark and murky, I might give the greens a second wash. If it’s not bad looking, you can go ahead and either spin the leaves dry in a salad spinner, or if you don’t have one, let the leaves drip dry in a colander and then spread them in an even layer on a dish towel and gently roll it up to allow any excess water to get soaked up by the towel. Set aside the washed greens until ready to eat.
For the dressing, combine all ingredients and stir well. Taste for salt and pepper and maybe adjust the vinegar/oil ratios if using a more or less acidic vinegar.
I always like to dress the salad conservatively at first—you can always add more. Start with less dressing than you think it needs and mix gently with your clean hands. The leaves should be evenly and lightly coated. Now taste. Adjust with more dressing or salt if needed. Be sure to dress the salad right before serving so it doesn’t get soggy.
YUM !
A note on the subscription - my newsletter is still free for all, but I would encourage anyone who is reading to subscribe for $2/month. If you are a free subscriber you can change to paid by clicking the “subscribe now” link below.
Thank you for reading! Please share with friends and family!





I find that putting a dry brine under the skin (as Kenji Lopez-Alt recommends in The Food Lab) leads to an absurdly juicy bird 👀